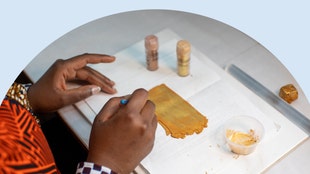
Not sure what equipment to use to get the best shot? Here, you’ll learn the pros and cons of using different cameras as well as other accessories that can help elevate your product photos. Use this to create a photography setup for your business that best suits your items, workflow, and budget.
Digital cameras
These are the four main types of cameras you’ll encounter when shopping, though there is plenty of overlap between the features available on these models.
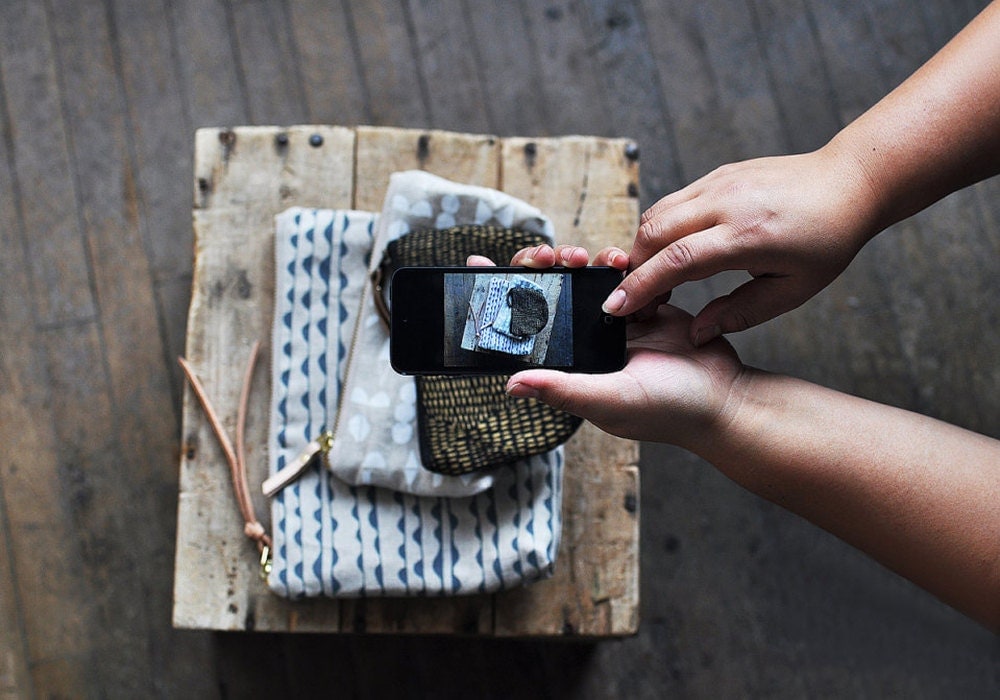
Smartphone cameras
In recent years, smartphone cameras have been getting better and better. With practice, good lighting, and a thoughtful photography setup, you can snap decent product photos from your mobile device.
Pros: Smartphones are pocket-size and easy to transport. They can also be a time saver. (For instance, if you sell on Etsy, you can shoot, edit, and list your photos on the go using your mobile device and the Sell on Etsy app.) If you don’t already own a camera, using your smartphone can also be an economical choice.
Cons: Phone cameras have limitations when it comes to manual settings, lenses, and adapting to low-light environments. Your phone’s resolution is not as high as top-of-the-line cameras. Plus, zooming on a phone camera typically gets low-quality results. Unlike cameras that use a lens to get close to the subject (optical zoom), a phone enlarges and crops from the center of the image, reducing the resolution (digital zoom).

Compact (or point-and-shoot) cameras
These cameras come in a range of styles and have either fully automatic settings or limited options for manual settings.
Pros: Portable and simple to use, compact cameras have more automatic modes and built-in settings (called “presets”) than smartphone cameras and are more affordable than higher-end cameras. Getting familiar with the presets can also be a good way for beginners to get comfortable with a camera before investing in a more expensive camera. A point-and-shoot camera with at least 10 megapixels and a macro setting is a great way to capture quality, detailed images that you can crop and edit.
Cons: The automatic modes prevalent on these cameras mean you have less control over shots than you would with manual settings. The built-in flashes on these cameras don’t work well for product photography, because the flash is located by the lens. (The flash shines parallel to the lens, resulting in flat, washed out images, especially in low-light settings.)

DSLR cameras
Digital single lens reflex (DSLR) cameras have interchangeable lenses and maximum options for manual settings. The mechanics of these high-end digital cameras are different than those for a point-and-shoot or smartphone camera. To take a photo with a DSLR camera, light passes through the lens to a mirror that reflects the image into the viewfinder so you can preview the shot. When you press the button to take a photo, the mirror flips up, the shutter opens, and light hits the sensor, capturing the image.
Pros: These pro-quality cameras are very versatile. The manual controls and options for camera lenses and accessories are vast and varied, making it easy to use these cameras in many different situations, including in low light. With larger image sensors that take in more light and allow for larger pixel sizes, these cameras generally produce sharper, higher-quality images.
Cons: They can be pricey. Plus, their bulkier size makes them more challenging to carry around. For a new photographer, there can be a learning curve when getting familiar with the manual settings to get the most out of these cameras.

Mirrorless system cameras
Like compact point-and-shoot cameras and mobile phone cameras, these cameras don’t use a mirror to capture the image. Instead, light travels through the lens directly onto the image sensor, which relays the image to the rear screen or electronic viewfinder (EVF).
Pros: Since these cameras don’t need to house both a mirror and a prism, like DSLR cameras do, they are lighter and more compact. They have more manual capabilities than a point-and-shoot and functions similar to a DSLR camera, with interchangeable lenses and a breadth of manual settings. For a beginner, these cameras are slightly less complex to navigate than a DSLR.
Cons: These cameras can be pricey, especially when compared to smartphones and point-and-shoot cameras. Compared to DSLR cameras, there are fewer options for lenses and accessories for mirrorless cameras. If you’re shopping for this type of camera secondhand, beware: Older models have slower autofocusing times (essential for action shots) and smaller image sensors that capture less light (which can reduce image quality).
Lenses
Camera lenses can help you get a crisp, close-up shot of your product. When shopping for a lens, be sure to consider its “minimum focusing distance,” the shortest distance at which the lens can focus. A specialized macro lens (available for smartphones and any camera that can use interchangeable lenses) can help your camera focus when it’s close to an object, allowing you to capture fine detail work on your products.
Tripods
Essential for capturing a steady shot, tripods are available for all camera types, including smartphones. A tripod with extendable legs is best so that you can easily adjust the height and angle of your camera.
Camera remotes and triggers
Just pressing the shutter release button with your finger can cause slight camera movement. Adding a remote control or cable release to your set-up helps eliminate this camera shake. These tools are also useful when photographing yourself modeling garments or accessories. (You can use the self-timer function for a similar effect.) Your camera will stay perfectly still during the exposure, resulting in sharper photos.
Seamless backdrops
Also called a “sweep,” these backdrops are composed of a long sheet of paper or wrinkle-free fabric that flows from the wall down to the floor, in a crease-free curve. Because there are no wrinkles, the seamless background creates a continuous background that helps products pop. Clips, pins, tape, or foam core are often needed to keep your backdrop and products in place.
Lighting tools
Good lighting brings your products to life and flatters your items' finest features.
Bounce cards and reflectors: You can use a bounce card or a reflector to reflect light onto your product. (These terms are often used interchangeably, though a bounce card is sometimes attached to a flash and a reflector is typically handheld.) Easy DIY bounce cards can be made from white poster board or a piece of cardboard covered in aluminum foil. Wearing white clothes when taking photos can also help reflect light back onto your subject.
Softbox lights: Particularly helpful for lighting larger items, a set of three softbox lights (artificial lights that are diffused by a sheer fabric) can illuminate your products from the sides and above, which reduces harsh shadows. These lights are sometimes referred to as a “softbox continuous lighting kit.”

Light boxes and light tents: For smaller items, a light box (with solid walls) or light tent (with fabric walls) can streamline your process with a consistent backdrop and light source. You can buy ready-made light boxes, such as the Foldio2, or make your own DIY photography light box, as detailed in the next chapter.
External flashes: The small built-in flashes on digital cameras cause harsh shadows and hot spots. An external flash or Speedlight paired with a DSLR or mirrorless camera can help solve this. A radio-controlled model that can be moved around your object gives you more control over the direction of the light.
Flash diffusers: A flash diffuser disperses light from the flash, making it less harsh and removing deep shadows. These come in a few forms: plastic diffusion caps and domes—and as mini softboxes that attach to your camera.
Continue reading > Chapter 4: How to Build a DIY Photography Light Box
Go back > The Ultimate Guide to Product Photography
 Words by Etsy Staff